Note: We have no affiliation or marketing arrangement with Coppercoat. We paid full price for the product after years of research and had no extra help during the application process.
Coppercoat anti-foul coating is a fascinating product that’s been on the market for decades, but it’s polarizing and plagued by misunderstandings, misinformation, and some very critical online reviews. It’s advertised as a ten-year antifoul bottom coat, but it’s more than that. It’s a hard epoxy coating mixed with pure copper powder, so when it goes on the bottom, you essentially wind up with a thin, hard coat of exposed copper that doesn’t wear off or stop working like regular paint does.
We applied Coppercoat to our 1985 Cabo Rico 38 in 2019. It’s 2025, and the product still works as advertised — it prevents hard growth, is environmentally friendly, and means we don’t have to paint the hull annually. Not having to schedule and pay for a yearly haul out is important for us as full-time liveaboard cruisers who are on the boat 12 months a year. While we applied the Coppercoat, we chanted with our friends, “Ten years of cocktails, no more haulouts!”

We’re six years into our Coppercoat experience, so here’s a look at the product, the application process, and how it’s holding up.
What Is Coppercoat?
One misconception that we continue to encounter is when you tell someone (even industry “professionals”) that you have Coppercoat, they hear you say “a copper coat.” So, they think you’re a moron who doesn’t know what they’re talking about, and that you have regular copper bottom paint but are saying it funny. In some cases, they assume you don’t know what you’re talking about; other times, they have never heard of Coppercoat.
Most bottom paints are basically oil paints loaded with toxic chemicals that prevent marine growth. The number one chemical used today is copper. Copper sheathing has been used on the bottom of ships since the days of wooden square riggers, it’s an effective biocide. Some bottom paints are hard, meaning that the paint stays on and builds up year after year, even after the copper wears out of them. Soft, or ablative, paints are designed to sluff off gradually with movement and cleanings, revealing fresh paint underneath until it’s all gone. Both of these paints require repainting every 12-18 months, and both (in our experience) require sanding down to bare fiberglass and applying a new barrier coat every 10 to 15 years. Both paints, but especially ablatives, release the toxic chemicals into the water.
Coppercoat is an entirely different product, made in England and imported to the US by one importer located in Florida (Coppercoat USA). It’s a two-part, water-based, low-VOC epoxy that is mixed with a fine-grain copper powder. The cuprous epoxy is painted on a bare boat bottom and sanded until a thin layer of pure copper is exposed. Since it’s embedded in epoxy, that copper stays there and provides a very hard, durable antifoul finish that is not paint — it’s basically metal suspended in hard plastic.

How Long Will Coppercoat Last?
The company states that Coppercoat will last ten years or more in Northern Europe but slightly less in high-growth areas like the Caribbean. It goes on to say that some boats are still going strong 20 years on! It’s easy to hypothesize that these 20-year boats are only used seasonally and, therefore, see half the use of a year-round boat.
Even at the eight to ten years advertised for the Caribbean, it is far superior to the 12 to 18 months you expect from traditional bottom paints.
Is Coppercoat Good?
Is Coppercoat worth it? That is the two or three-thousand-dollar question. A boatyard manager once told me that there isn’t a silver bullet. In other words, Coppercoat (and everything else) has negatives that must be considered.
That’s the key because you must understand this product thoroughly to appreciate it. If you paint it on (or pay someone to) believing it’s just another, more expensive, longer-lasting bottom paint, you’ll be disappointed.
While Coppercoat lasts longer than bottom paint, it requires more regular maintenance. Read more about maintenance in the sections below. This is the part that I feel the company sorely lacks in its marketing details and why I think many people have bad experiences. Boaters expect it to just work flawlessly with no work on their part. As always, they’re expecting a “miracle product,” so they’re quickly disappointed.
Advantages of Coppercoat
- Longer lasting means fewer haulouts and yard bills for bottom painting (ten or more years is definitely possible)
- Environmentally friendly, does not leech chemicals into the water
- Hard and abrasion-resistant
- Not affected by drying out or seasonal haulouts
- Easy to touch up or recoat in the future
Disadvantages of Coppercoat
- More expensive than standard bottom paints initially (but perhaps cheaper in the long run)
- Application requires a completely clean and fair bottom — best applied on new boats or after a thorough media blasting and barrier coating
- Somewhat complicated and specific application process that must be followed
- Must be applied DIY or by a yard with extensive experience with the product (some yards refuse to do it)
- Moisture-sensitive application means you might have to wait for drier weather
- Confusion by yards and divers not understanding the product
- Requires regular, gentle cleanings (haul/careen and pressure wash or diving and scrubbing)
- Requires more frequent cleanings than fresh bottom paint does
How To Apply Coppercoat — Success Is in the Preparation
Besides poorly managed customer expectations, application problems are the second problem the company faces. This is a known problem, however, and the website contains everything you need to know for a successful DIY application.
If you want to pay the yard to apply your Coppercoat, I think a word of warning here is in order. If the yard has little or no experience with Coppercoat, I would find somewhere else. Some yards refuse to apply it, and if that’s their policy, I wouldn’t argue — I’d just find somewhere that does a lot of it.
Most problems with Coppercoat come from poor applications, and those happen because the workers don’t understand what they’re working with. They’ll treat it like just another bottom paint, and problems will follow. You need a yard that knows what they’re doing and why. It’s different than every other antifoul on the market.
The company provides a detailed how-to document that’s approximately 15 pages long. It’s got all the details, so it’s just up to you to follow them. None of it is hard, but it’s all time-consuming and requires care. If you’re hiring someone to do it, it will be up to you to ensure they read and follow the instructions. Do not, under any circumstances, just hand the product to someone and say, “Go for it.”
The Basic Steps to Apply Coppercoat
Again, all of the steps for a successful application are provided by the company documentation. The following is a rough outline to give you an idea of what is involved and how long it took us.
1. Get the bottom in like-new condition
The boat bottom must be completely free from other coatings — there can’t be so much as a spec of regular bottom paint. This is the biggest hassle with the product because stripping an old boat bottom is always more work than you expect.
My recommendation is to have the bottom media blasted by a professional, make any blister repairs and fair it out entirely. We didn’t have our blasted, and it took us about two weeks of sanding, stripping, scraping, and fairing to get our bottom ready.
2. Ensure the right environmental conditions — dry and warm
Preventing moisture from settling on the surface is key. If there’s any chance of dew or precipitation, you must tent the boat to keep the moisture off the bottom coatings. The dryer and the warmer conditions, the better off the cure will be. But in some places, it’s hard to get just the right conditions — it’s always humid and damp on the US East Coast. All that said, however, the stuff is made in England, so it works fine if you take the proper precautions.

As with all two-part coatings, be sure to follow the recommended temperature limits. We had several delays due to rainy, damp days. We were applying in September on Chesapeake Bay.
3. Barrier coat application
There should be an epoxy barrier coat in place before applying. If you’re doing Coppercoat, I recommend using the Ceramicoat that they sell. It’s the only one compatible with the Coppercoat epoxy, which means you can “hot coat” them. If you apply any other form of epoxy, you must allow extra time for curing and sand the barrier coat before applying the Coppercoat.
The Ceramicoat has similar application steps as the Coppercoat, so once you start, you can do 3-4 coats of each one, and then you will be done. If you choose a different primer or barrier coat, it will take you longer overall. We used Ceramicoat, and it took two days (two coats per day) to apply the barrier coat.
4. Coppercoat application
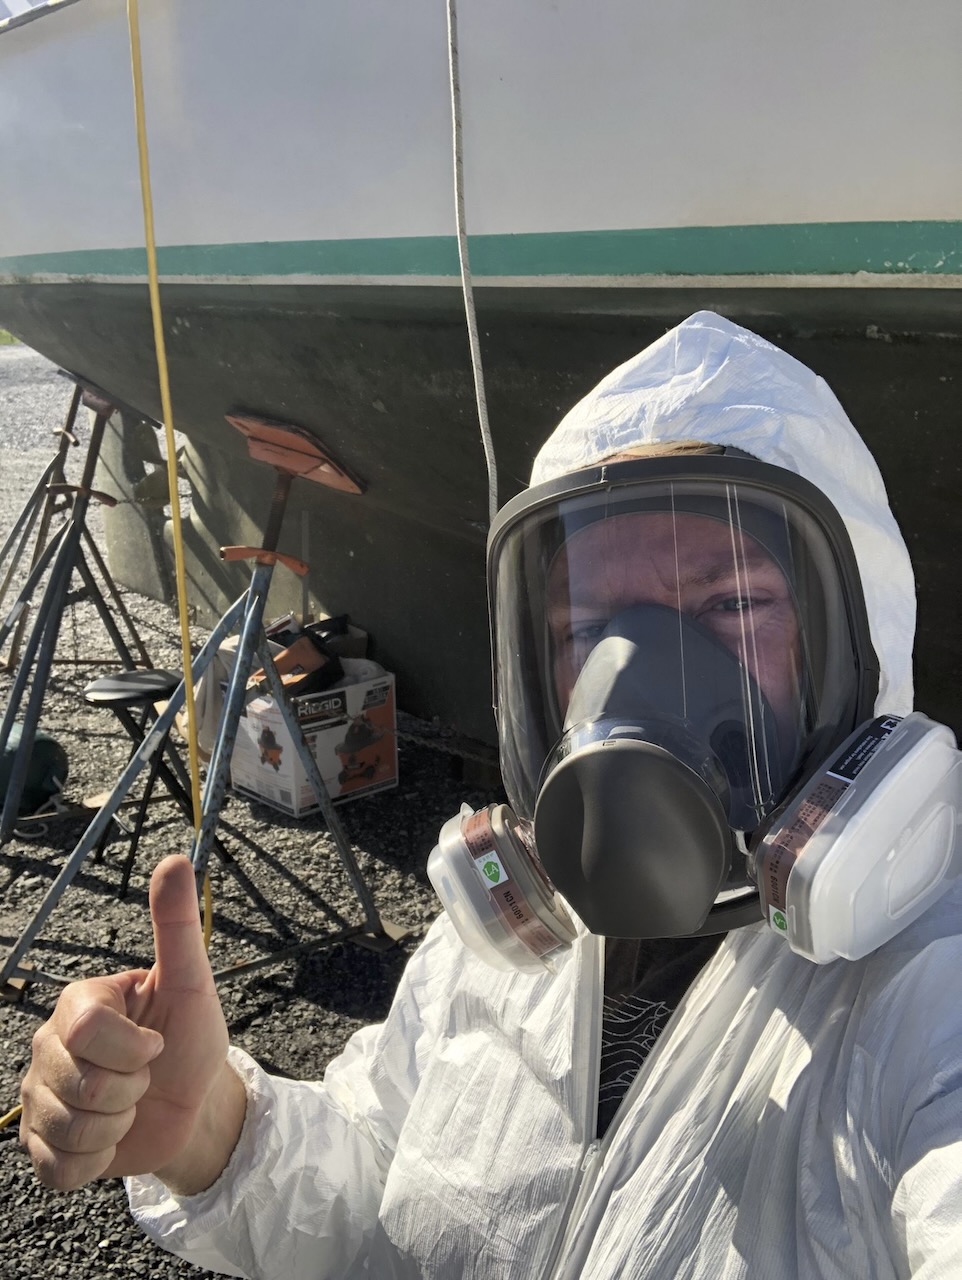
The copper powder makes the coating very heavy and difficult to apply. It is sold in quart-sized kits and mixed in small batches. It needs to be constantly stirred to keep the copper powder from settling. For this reason, we had a friend there whose job it was to stir and pour refills into our paint trays as we worked.
We applied it with short-nap epoxy rollers in teams of two. It takes longer than you’d think and the product is a weird mix of being very thin and difficult to apply while also being heavy and prone to running. What had another couple help us apply it, so two people rolled the product on while another mixed. Person 4 was on standby to provide moral support, mess clean-up, saying things like, “You missed a spot,” and DJing.
5. Sand to expose the copper

Once the Coppercoat is on and of the desired thickness, it’s time to sand it to expose the copper. This is a time-consuming and laborious process. Using a random-orbit sander and 320-grit paper, the entire surface must be sanded down so that the outer layer of epoxy is taken off and the raw copper exposed. If you have uneven sections where the sander can’t get in, we’ve had good luck using Scotchbrite-type pads that fit on the sander. This process took me 4 or 5 days in total — it was grueling. The Coppercoat is extremely hard, so it’s difficult to sand off. Furthermore, our application turned out to have too much texture in it.
6. Repeat everything under the stands
Remember, you’ll have to have the boat yard stands moved and paint under those, as well. That doubles the time you need to apply the product — with standard bottom paint, you’d usually just slather on some right before launch. But you can’t do that trick with Coppercoat — you need the stands moved, then you need to strip and prep the surface, apply the barrier coat, apply the Coppercoat, let it cure, and sand it down. It will take at least five days to repeat all those steps above for the areas under the stands.
7. Wash before launching
Once the whole boat is sanded and ready, wash all the dust and boatyard grime off before launching.
Our total time spent on the project, including stripping the bottom, was close to a month. If we’d paid to have the bottom blasted first, the job would’ve been done in half the time with a better end result.
Does Coppercoat Need a Primer?
Coppercoat needs to be applied over a completely clean barrier coat application. Barrier coat is a form of epoxy primer that prevents water from getting into the fiberglass laminate and causing osmotic blistering.
You cannot apply Coppercoat on top of old bottom coatings. Everything must be stripped off. For this reason, I think it’s best to plan getting the bottom media blasted by a professional company before fairing it, applying a barrier coat, and putting on the Coppercoat.
You can put Coppercoat on top of itself if you’re making repairs or touch-ups. It just needs to be cleaned and sanded first.
Can You Mix Your Own Coppercoat?
When I researched the product, I came across many enterprising DIY-ers who believed they could do the same thing on their own for less money. Where you would get the super-fine copper powder to mix in the epoxy, I don’t know. But the recipe isn’t complicated if you can find the parts.
I watched a catamaran in a boatyard do it themselves. The same catamaran hauled out at the end of the summer, and the bottom had no less than six inches of solid growth all around! It was the most fouled bottom I’ve ever seen; it was an obvious failure of epic proportions. I don’t know if they simply missed a step (sanding to expose the copper) or something more significant, but it convinced me it was not worth trying to DIY it. In the end, all suitable epoxy coatings are very expensive. I can’t imagine saving enough money and mixing your own to make it worthwhile.
Maintaining Your Coppercoat Antifoul
Many traditional antifouls have additives that prevent slime and sludge from building up. Coppercoat doesn’t, so it slimes up quickly, and that needs to be cleaned off. Moving the boat a lot helps, but it usually needs more help. If you sit at a dock for a month, you are guaranteed to need a cleaning before you leave. Once the slime builds up, it promotes hard growth since it covers up the copper. Eventually, the slime growth is thick enough to slow you down considerably.
Thankfully, it’s easy to clean off. But cleanings are a mixed bag. If you’re too rough, you will wear your Coppercoat down quicker than necessary. So, gentle cleanings that remove the slime without scraping or sanding off the coating are key. Coppercoat told me they recommend using a square of outdoor carpet. I’ve found plastic putty knives helpful to remove little bits of hard growth and a medium bristle handheld brush to get off the slime. I clean the bottom while free-diving; it would be good to have a full dive setup to allow more time and care while cleaning it.
We’ve had trouble getting divers to follow our directions and do what we ask. Most have no idea what Coppercoat is or what they should do with it. Unfortunately, you must be very specific and tell them how to do their job. Most use harsh cleaning methods with metal scrapers and scouring pads, which isn’t usually a problem since their other clients repaint every year or two. But it will wear down the Coppercoat faster than is necessary.
Even with regular underwater cleanings, we think it would be helpful to pressure wash the bottom on the hard every year or so. If you did this, you might be able to reduce the amount of cleanings you have to do. Pressure washing is the best way to clean Coppercoat, since it gets all the slime and algae off without actually scraping off the coating. If you live somewhere with big tides and can use a slipway to careen, this is easy and cheap to accomplish. If you haul for each season, you’ll do this regardless. But if you’re like us (you boat year-round and need to haul out at a new yard each time), then you’re spending the money that you should’ve been saving by having a ten-year antifoul.
Maintenance is a major consideration with Coppercoat, and you need to take it into account. Full-time boaters don’t give too much thought to this; they imagine they’ll be on tropical islands wanting to swim and clean the boat every day. In reality, we often wind up in places like the Chesapeake Bay every summer, where the water isn’t so inviting, and the marine growth rate is pretty fast. If you don’t move your boat much, Coppercoat isn’t going to work as well as a fresh coating of paint that has an anti-slime additive.
Beyond just knowing you have to plan for the cleanings, you need to budget for it. Divers in our area charge us $150–200 for each cleaning. If we do a quick haul for pressure washing, it would be at least $700. When you sum the costs up (depending on how you decide to do it), you really cut into the cost savings that Coppercoat could offer you.
Is Coppercoat Worth It? Our Coppercoat Review After Six Years
So, there are all the gritty details and ugly truths, but do we regret applying the Coppercoat to begin with? Would we do it again on a different boat? Do we recommend it?
My biggest regret with the Coppercoat is not having had the bottom blasted and getting a better finish on it. What we have works, but it could be better.
Understanding that it needs to be put on a new or like-new boat is key to getting a great application. If I had known the amount of work and cost to get our old boat up to that condition, I probably would not have gone ahead with Coppercoat.
But even with our less-than-flawless application, the product has met or exceeded my expectations. We have hauled out once since applying it: In 2022, we adjusted the waterline, applied touchups to the Coppercoat, and did a better job sanding it to expose the copper. It’s easy to keep clean as long as you put in the work. Not having to haul out annually is important to us — we really hate boatyards, and we liveaboard 12 months a year. Everything else on our boat can be done in the water. Even if we do need a haul out, painting will be one less thing to have to worry about.

I definitely recommend Coppercoat to other boaters, but only when the numbers make sense for them. For nearly all boaters we know, whose boats seldom leave the dock and who are hauling annually anyway, it doesn’t make sense. Good quality hard bottom paint is less trouble and less money.
However, if you’re buying a new boat or are media blasting and barrier coating an old one, I think it’s a hard sell NOT to put on Coppercoat. You’re doing the difficult and expensive parts anyway, and Coppercoat is an effective ten-year antifoul coating that works great.
Leave a Reply